Showing posts with label crafting. Show all posts

Tuesday, February 14, 2012

Happy Valentines Day!


With a candy free holiday declared in the classroom we needed to come up with something a bit more creative.  This is our rendition of something I pulled off of Pinterest.  I think they turned out cute.  Annika and I had a great time making them.  Sending you all a little love bug to let you know that you are the best today and every day!

Monday, December 26, 2011

Happy Holidays

The carrots and hay are on the porch, ready to feed those hard working reindeer and the dollhouse is finished!

I am happy to say we were able to slide it in beside the tree- finished.  No letters from Santa indicating how busy the elves had been this year and how they just didn't have time to get it all done.  The paint was even dry! I have to say this was a very satisfying project.  It might have been a bit less stressful if I had allowed some more time for completion.  I had trouble getting the roof angles right and that proved frustrating but in the end, I learned a thing or two.  1)It would do me good to have the right tools and save a lot of time.  2) Paint and caulk are indispensable for um creating that "finished" look.  The dolls and furniture came from Target and fit nicely with the scale.  I would definitely do it again and would recommend the project to anyone.  I am comfortable using tools but am definitely not a finish carpenter. I still felt like the project still turned out nice.  I am going to enjoy watching my daughter play with it possibly more than she will enjoy the play. Total lumber cost was about $50.00.

Monday, July 11, 2011

Not Your Ordinary Shoe


Sometimes your flip flops just need a little bling. Something to make them a little fancy smancey. Something that says these aren't your ordinary foam shoes. So just take a little time and make your plastic fantastic! Tee hee!

Wednesday, February 9, 2011

In the Mood for Love

THIS IS A VALENTINE SPOILER!

IF YOU WANT TO WAIT

FOR IT TO COME IN THE MAIL,

DON'T LOOK!

I put these together the other day. I hope they make the recipients as happy as I was designing and making them! A little embossing, a little vintage lace and of course just the right amount of red to say you are truly in my heart! We all need a little bit of something to get us through these winter days!


Monday, February 7, 2011

Valentine Prep

Preschool Valentine party is Friday. Despite being under the weather, it was time to get cracking! I am already uneasy about the quality of food served at school so I was definitely not going to contribute to the sugar overload that is sure to ensue. I thought about bags of carrots tied with pink bows but have probably found a happier medium here:


I die cut the hearts and let A decorate with stickers to her hearts content. After picking a few pencils to keep for herself, we taped the rest to the hearts. Daddy helped her pick out the dandy felt bag and stickers for carrying them to school and bringing her loot home. We had fun and only spent $3.00 on pencils! The rest, we had!

Tuesday, February 1, 2011

Craft Table Catch All

There never seems to be enough room on top of my cutting table. Scissors, tape measure, notepad all in the way all the time. Well I decided to get crafty on the problem the other day and came up with this:
A super tidy place for everything!

You will need about a half yard of fabric and some heavy duty interfacing.
Cut two fabric pieces and one interfacing 9 by 21.5"
Cut two fabric pieces and one interfacing 7 by 21.5"

1) Attach the interfacing per the instructions to the wrong side of one of the like sized rectangles.
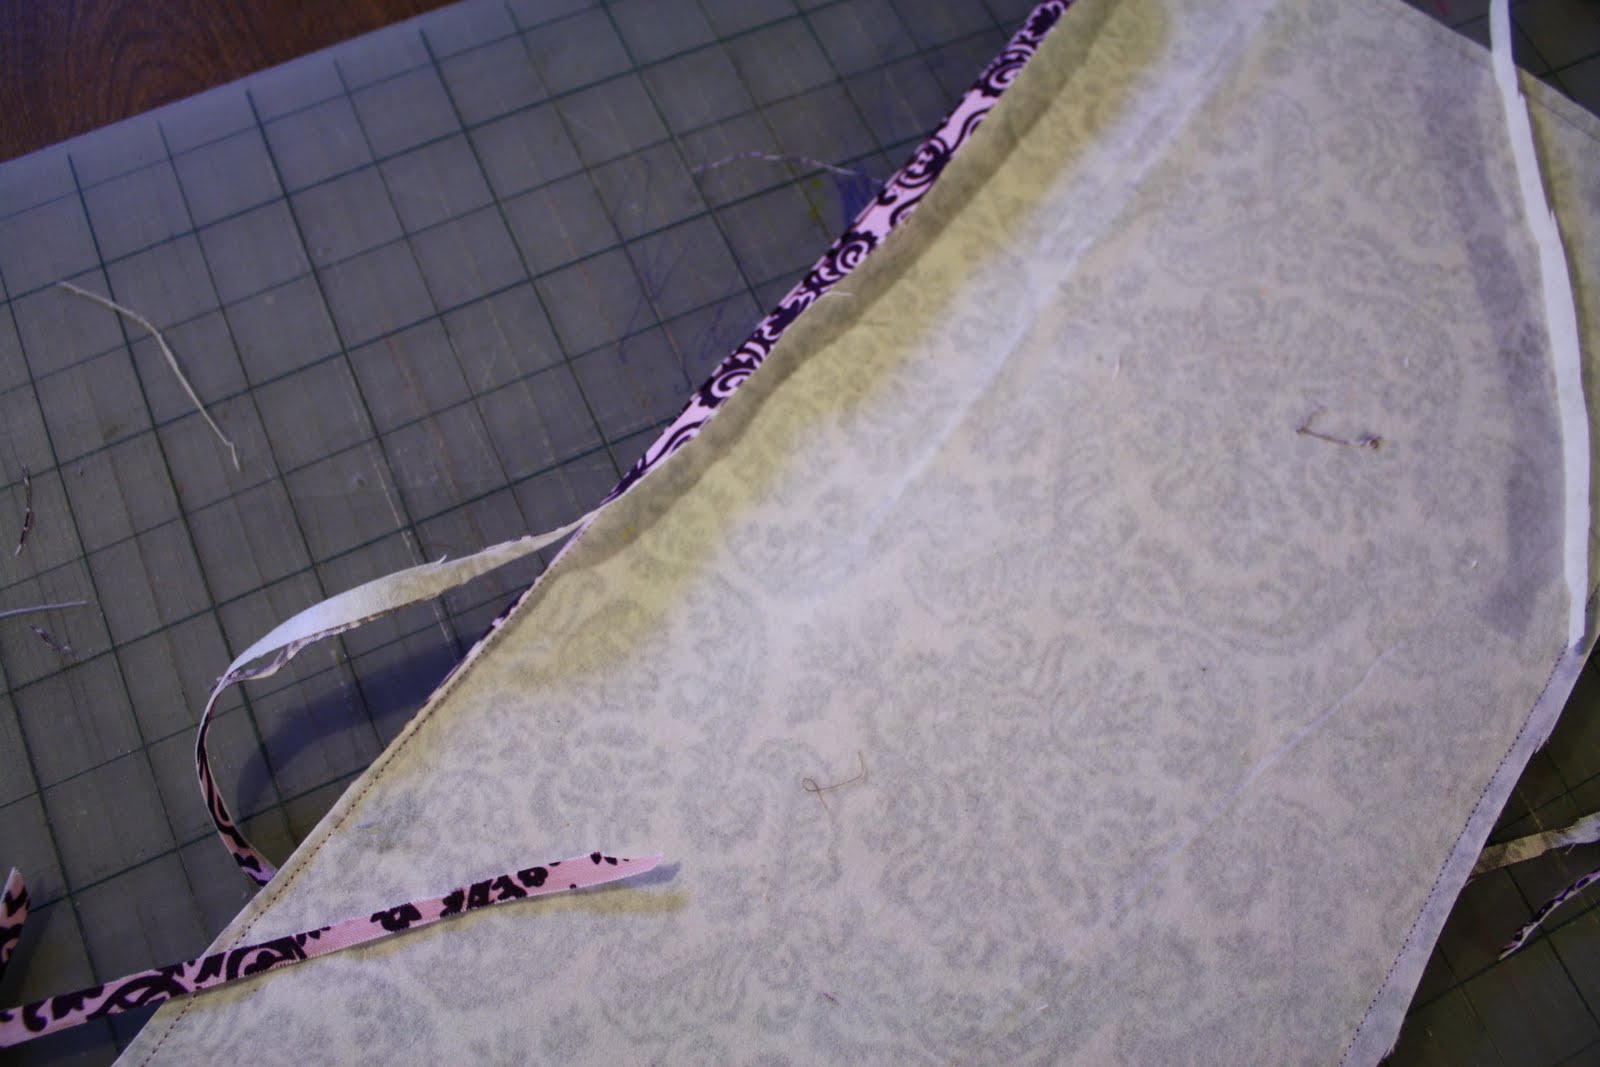
2) Sew the small rectangles right sides together across one long side. Trim seam, turn and press.
3) Layer all three pieces together matching the raw edges at the bottom. Your large rectangles will be right sides together sandwiching the smaller rectangle that will be right side out on both sides. Sew around the entire rectangle leaving a 6" opening on the top to turn through.

4) Press back seam allowance in un sewn area. Trim seam allowance in all other areas, clip corners and turn. Press everything.
5)Stitch across the top to close the opening.
6)Use some chalk and a straight edge to mark your stitch lines for your pockets. I did one large enough for my scissors, a smaller one for measuring tapes and notepads and a pencil sized one.

7)Stitch your lines the width of your pocket and be sure to backstitch on both ends.
8)Lastly apply your velcro. I used self adhesive velcro on the table edge and then stitched a same size piece to the back of the organizer. DO NOT try to sew on self adhesive velcro! It makes a mess of your machine!
9)Viola! Attach to your table and be happy that your scissors will never be lost under piles of fabric and all these handy things will be stored at your finger tips!

If you find this confusing, there are a multitude of tutorials out there for crayon organizers that use pretty much the same steps! Many of these people have way more tutorial experience than I do!

Thursday, January 27, 2011

Getting the hang of it


I have officially gone my first round with the serger. I am not sure that I am on the same team as this machine yet. It is a whole different monster and I fully understand why Craigslist is littered with "barely used" sergers for sale. In the middle of the project I ran out of the sample thread and spent nearly half an hour trying to re thread the thing before I gave up. Next day, things went better and I did get this fleece jacket complete but I am by no means proficient in its use. So with my manual close by, I will move forward and sign up for a class to reduce my chances of turning my machine into a dust collector. Do you own a serger? Do you use it often? How long did it take you to get the hang of it? Any tips to share?

Tuesday, December 7, 2010

Top Make it Gift List

I am a lister by nature. I have whole sketchbooks of lists. They are like documentaries of my life in list form! Since it is the gifting season, I am going to share with you my list of favorite gifts to make. Maybe you will be inspired for the gift giving season! The majority of these you can find patterns or ideas for from many of the talented crafters on the internet. As I love to say "Google It!"

Grocery Bags
Scarf: knitted, sewn, crocheted
Pillowcases(kids love em)
Quilted wall hanging
Purse/bags Amy Butler has some of my favs but the possibilities are endless
Lap Quilts
Place mats/napkins
Covered/decorated journals
Monogrammed card set/thank you notes etc.
Kitchen Aprons
Digital Device Cover(haven't made one yet but love the idea)
Pajama Pants

Friday, December 3, 2010

Holiday Sewing Ideas

For lots of cool holday gift ideas visit Sewmamasew. There are a bunch of ideas for gifts to sew so if working on that handmade holiday don't miss it!

Saturday, November 27, 2010

Simple Details


This year my family was lucky enough to get to host eight of our closest friends for the Thanksgiving meal. I didn't want to spend a lot on decor and really prefer things simple so I took this approach. I didn't have 10 matching place settings so I headed to the local box store for plain glass plates. For a large plate and small plate I spent $2.50 per place setting. I am actually going to clean out my hodge podge table ware and use these from now on. Napkins were $1.50 for two. The rest I already had on hand. The grass center piece is cut from the yard while gourds, pumpkins, and corn were from friends and the garden.

For the center of the table I chose unbleached parchment paper and scrapbook paper for place mats. The little bit of raffia makes it all look complete.

Lastly I used my leaf punch and some thread to label wine glasses for table assignments. In the past I have had a lot of anxiety about hosting. This simple set up could be used any time of year for a nice touch and not a lot of expense. With the help of my husband, sister and brother in law; it was really pretty low stress. I also had guests pitch in and bring something. Even though I forgot to make the gravy; it was fabulous!

Monday, November 22, 2010

Mama Said Sew


I followed up on a lead from my friend Morgan this weekend and explored this little fabric shop in old town Ft. Collins. I was super happy I did! There were lots of cute things and the fabric options were fabulous! A lot of stuff in the vintage modern category that is my personal fav.

They had a super selection of Amy Butler and Oliver + S patterns. Several of the books on my wish list were right there on the shelf and probably the best part was they had an area for toddlers so mommy could shop uninterrupted! I love how these ladies think. It was like the fabric shop of my dreams came to life!

The shop has only been open 8 months. I want to make sure it stays around so please go visit them at Mama Said Sew.