There never seems to be enough room on top of my cutting table. Scissors, tape measure, notepad all in the way all the time. Well I decided to get crafty on the problem the other day and came up with this:
A super tidy place for everything!
You will need about a half yard of fabric and some heavy duty interfacing.
Cut two fabric pieces and one interfacing 9 by 21.5"
Cut two fabric pieces and one interfacing 7 by 21.5"
1) Attach the interfacing per the instructions to the wrong side of one of the like sized rectangles.
2) Sew the small rectangles right sides together across one long side. Trim seam, turn and press.
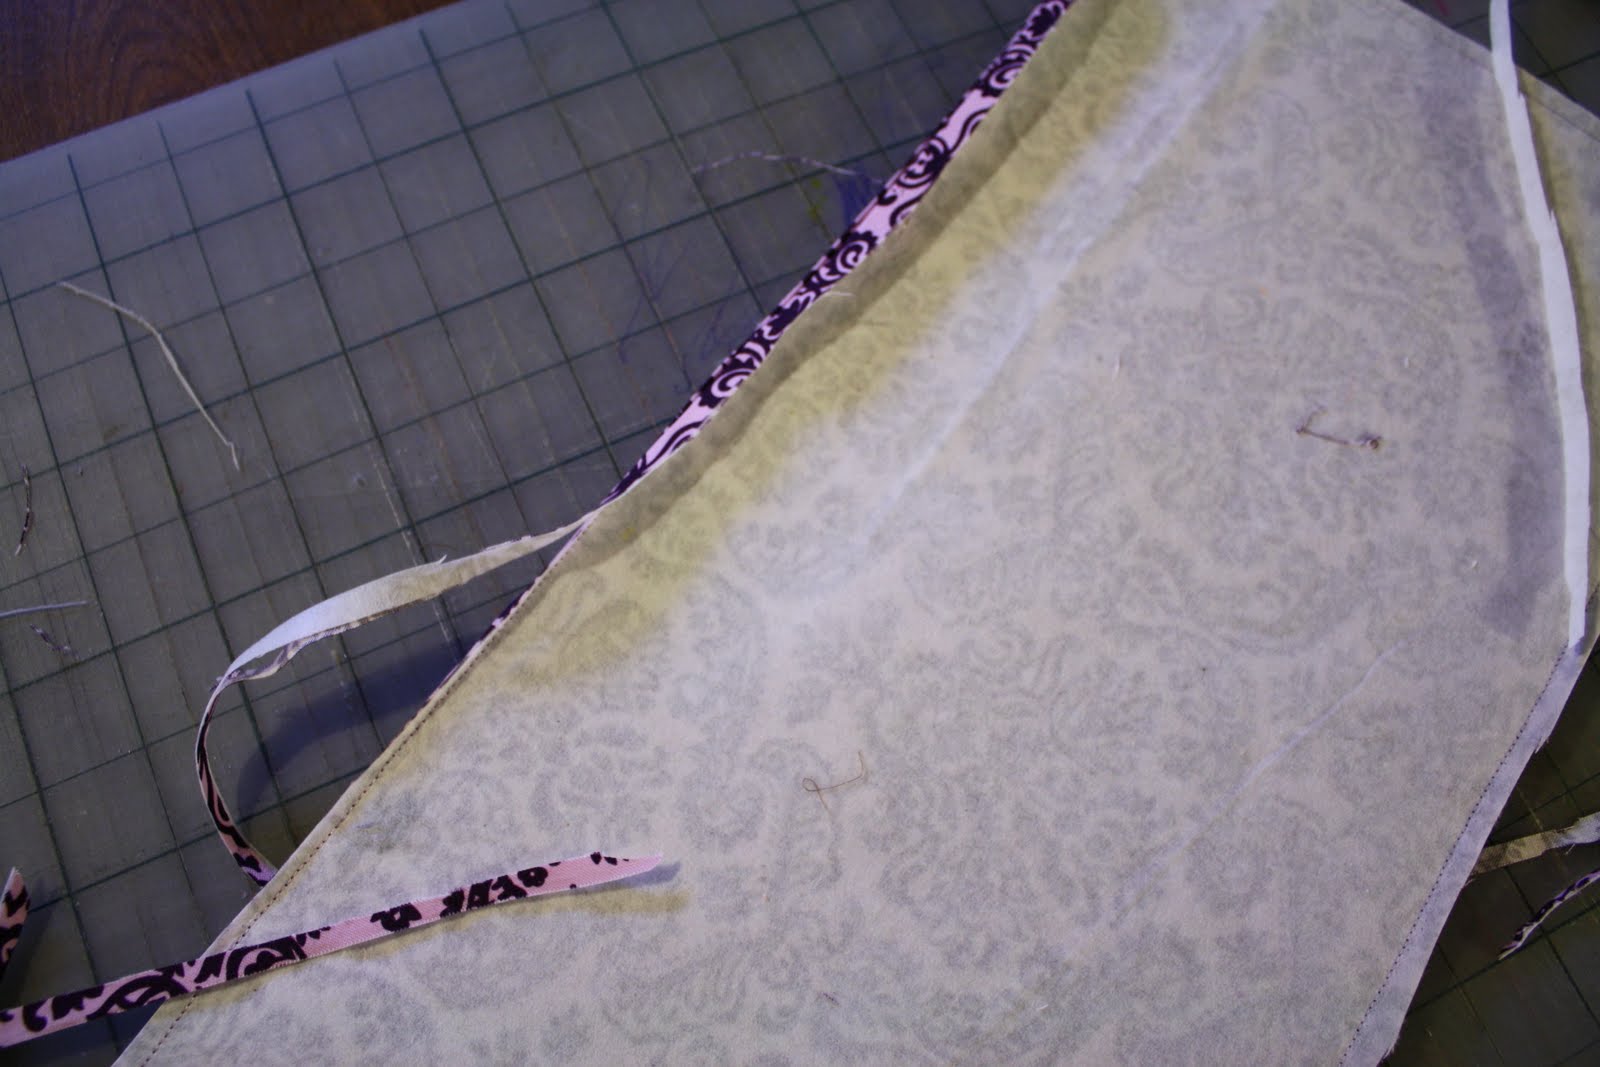
3) Layer all three pieces together matching the raw edges at the bottom. Your large rectangles will be right sides together sandwiching the smaller rectangle that will be right side out on both sides. Sew around the entire rectangle leaving a 6" opening on the top to turn through.
4) Press back seam allowance in un sewn area. Trim seam allowance in all other areas, clip corners and turn. Press everything.
5)Stitch across the top to close the opening.
6)Use some chalk and a straight edge to mark your stitch lines for your pockets. I did one large enough for my scissors, a smaller one for measuring tapes and notepads and a pencil sized one.
7)Stitch your lines the width of your pocket and be sure to backstitch on both ends.
8)Lastly apply your velcro. I used self adhesive velcro on the table edge and then stitched a same size piece to the back of the organizer. DO NOT try to sew on self adhesive velcro! It makes a mess of your machine!
9)Viola! Attach to your table and be happy that your scissors will never be lost under piles of fabric and all these handy things will be stored at your finger tips!
If you find this confusing, there are a multitude of tutorials out there for crayon organizers that use pretty much the same steps! Many of these people have way more tutorial experience than I do!